On macOS 27 or later, the Screenshot toolbar (Shift-Command-5) can record system audio: open Options and choose Include System Audio. On macOS 26 and earlier, QuickTime and the toolbar record your microphone but not system sound. CursorClip records system audio, your mic and your camera in one take on macOS 13.5 or later.
The right route depends on two things: your macOS version (Apple menu > About This Mac) and whether the recording is a quick clip or something you’ll publish.
| Your situation | Use | Why |
|---|---|---|
| macOS 27 or later, a quick clip | The Screenshot toolbar (Shift-Command-5) | Built in and free, with Include System Audio in Options |
| macOS 26 or earlier, and you need app sound | A third-party recorder | Apple’s built-in tools record your microphone only |
| A tutorial or demo you’ll publish | CursorClip | Mic, system audio and camera in one take, with zooms placed from your clicks |
| Free, with full control or streaming | OBS Studio 30 or later | Native desktop audio on macOS 13 and later, per OBS |
| A Zoom, Meet or Teams call | The meeting app’s own recorder first | The platforms document their own recording notices; see the meeting recording and consent guide |
How to screen record with audio on macOS 27 (built in)
macOS 27 added a system-audio option to the Screenshot toolbar. These are Apple’s steps (Apple Support 102618, published 14 September 2026, checked 6 October 2026):
- Press Shift-Command-5 to open the Screenshot toolbar.
- Choose Record Entire Screen, Record Selected Window or Record Selected Portion.
- Click Options. Under Microphone, choose the mic for your voice. Then choose Include System Audio to capture what your Mac plays.
- Click Record. If you’re recording a window, click that window.
- To stop, click the Stop button in the menu bar, or press Command-Control-Esc. If the button isn’t there, see how to stop a screen recording on a Mac.
The file saves to your desktop as “Screen Recording [date] at [time].mov” unless you picked another location in Options. If it isn’t there, see where screen recordings go on Mac. If QuickTime Player’s File > New Screen Recording shows this same toolbar, Apple says the Screenshot app is doing the recording, so these steps apply there too.
What Apple’s article doesn’t say. It doesn’t say whether your voice and the system audio end up mixed into one track or kept apart. It doesn’t mention picking a single app’s audio either. So before a recording that matters, record ten seconds with app sound playing and your mic live, then play the file back. Apple also notes that some apps, such as the Apple TV app, might not let you record their windows.
The built-in route is fine for a quick clip. It has no automatic zoom, no camera layout and no editing beyond a basic trim. For a recording you’ll publish, see the CursorClip steps below.
How to record internal (system) audio on macOS 26 and earlier
On macOS 26 and earlier, Apple’s built-in tools record your microphone, not your Mac’s own sound.
Microphone only, built in. Follow the steps above. In Options, choose a microphone. You won’t see Include System Audio.
Microphone plus system audio. Use a recorder that captures system audio through current macOS APIs, with no extra driver:
- CursorClip, on macOS 13.5 or later. Steps are in the next section.
- OBS Studio 30 or later, on macOS 13 or later. OBS’s knowledge base says its macOS Audio Capture source can capture “all desktop audio or just a certain application” (OBS, checked 6 October 2026).
- Cap, which states “no BlackHole, no Loopback, no virtual audio drivers required” (cap.so, checked 6 October 2026).
- CleanShot X 4.6 or later. Its changelog for 4.6 (5 September 2023) says computer audio no longer requires additional drivers.
Legacy route: a virtual audio device (macOS 12 and earlier)
Older guides, including ours, used to start with BlackHole and OBS. That’s now a fallback. Use it only on macOS 12 or earlier, or with a tool that still needs a driver. Current OBS needs macOS 13.0 or newer, and its 32.2.0 release notes point macOS 12 users to OBS 32.1.2 (checked 6 October 2026).
BlackHole is a free, GPL-3.0 “virtual audio loopback driver” for macOS 10.10 and newer. Its README says “No kernel extensions or modifications to system security necessary”, and its latest release is v0.7.1 from 3 July 2026 (checked 6 October 2026). The usual setup:
- Install BlackHole 2ch.
- Open Audio MIDI Setup, click +, choose Create Multi-Output Device, and tick BlackHole 2ch plus your speakers or headphones.
- In System Preferences > Sound (System Settings on macOS 13 and later), set the output to the Multi-Output Device.
- In OBS, add an audio input source set to BlackHole 2ch, plus your microphone, then record.
- Set your sound output back when you’re done.
OBS’s own guide for older macOS names VB-CABLE, Loopback and Sound Siphon rather than BlackHole.
How to record your screen with audio in CursorClip
CursorClip records your screen, your microphone, your Mac’s system audio and your camera in one take. Then it zooms in where you clicked, so the video is readable without keyframing. It runs on macOS 13.5 or later, so Macs on macOS 13.5 through 26 get system audio too, with no driver.
- Download CursorClip and open it. When macOS asks, allow Screen & System Audio Recording, plus Microphone and Camera if you use them.
- In the control bar, choose what to record: a display, a window or an area.
- Turn on system audio and pick your microphone. Both are on by default, and the mic follows your macOS default input unless you choose another. Add your camera if you want your face in the video.
- Record. On macOS 15 and later, if your mic is sending only silence, CursorClip shows “No signal from [your mic] yet” while you can still fix it. On macOS 13 and 14 that live check isn’t available, so play back a few seconds before a long take. If the mic you chose is unplugged, it tells you which one it’s using instead.
- Stop. In the editor, the zooms are already placed from your clicks. Trim, adjust zooms and layout, set microphone and system volume separately, and export.
Limits worth knowing. CursorClip captures everything your Mac plays, with no per-app audio picker, so silence notifications before you record. It records video, not audio-only files. It edits only its own recordings and has no captions. With both audio sources on and a large capture area, it records at 30fps.
Try it free. Recording and editing are free; a license unlocks export. It’s $70 once, $29 a year or $9 a month, and one license covers up to 3 Macs. See everything it records or compare plans.
Mac screen recorders with audio compared
Three audio jobs matter here: microphone capture (your narration), system audio capture (whatever the Mac plays) and both in one recording. Competitor cells are vendor statements from the source shown, checked 6 October 2026. The CursorClip row comes from the app’s source code, not marketing copy.
| Tool | System audio | Microphone | Both at once | Extra audio driver | Price |
|---|---|---|---|---|---|
| CursorClip | Yes, everything the Mac plays | Yes, follows your macOS default or a mic you pick | Yes, with separate volume controls in the editor | No, captured through ScreenCaptureKit | $70 once, $29/yr or $9/mo |
| Screen Studio | Vendor states yes, from all apps or selected apps | Vendor states yes | Listed together; simultaneity is our reading | Not stated | $29/mo, or $9/mo billed yearly |
| Cap | Vendor states yes | Vendor states yes | Vendor states “at the same time in a single recording” | Vendor states none required | Free (personal use), $58 once or $29/yr desktop license |
| OBS Studio | Yes on macOS 13+ with OBS 30+, all audio or one app | One mixable source among many | Implied by the mixer; no single vendor sentence | Not on macOS 13+ with OBS 30+ | Free and open source |
| CleanShot X | Vendor states yes | Vendor states yes | Vendor: “what you say and what you hear” | None since 4.6 (5 Sep 2023 changelog) | $35 one-time, or $10/user/mo billed yearly |
| ScreenFlow | Yes, via the Telestream Audio driver per a 2012 help page | Vendor states yes | Vendor states simultaneous screen, camera and microphone | Yes per that 2012 page; confirm against the installer | From $199 one-time |
| Apple built-ins | macOS 27+ only (Include System Audio) | Yes | Not stated by Apple | No | Included with macOS |
Sources: screen.studio and its audio page, cap.so and its pricing, OBS knowledge base, cleanshot.com and its pricing, ScreenFlow overview and Apple Support 102618, all checked 6 October 2026.
What else lands in the file differs as much as the audio does. This second table uses vendor pages captured 10 August 2026 unless a cell says otherwise.
| Tool | Webcam | Where recordings live | Export formats | Max resolution / fps | Minimum macOS |
|---|---|---|---|---|---|
| CursorClip | Yes, with picture-in-picture, side-by-side and stacked layouts | On your Mac; no upload path for media exists | MP4/H.264 (also MOV, HEVC), GIF under 10 minutes | Export presets to 4K (3840x2160) and 60fps | 13.5 |
| Screen Studio | Vendor states yes, with camera overlay, split screen and face tracking (6 Oct 2026) | On your Mac; uploaded when you create a share link or share a project (checked 6 October 2026) | Vendor states MP4 and GIF | Vendor states up to 4K 60fps | ”macOS Ventura 13.1 or higher is recommended” (6 Oct 2026) |
| Cap | Vendor states yes; Studio Mode keeps separate screen and webcam tracks | Instant Mode uploads while recording; Studio Mode records locally | Vendor says “any format” without publishing a list | Vendor states 4K, 60fps | 13.1+ recommended (6 Oct 2026) |
| OBS Studio | Vendor lists webcams among sources | Local recording and streaming; no vendor cloud | Configured by the user | No fixed ceiling published | 13.0 or newer (6 Oct 2026) |
| CleanShot X | Vendor states a webcam bubble (6 Oct 2026) | Local; Cloud optional | Vendor states MP4/H.264 and GIF | No numeric ceiling published | 13.0 or newer (6 Oct 2026) |
| ScreenFlow | Vendor states yes, plus iPhone and iPad capture | Not stated by the vendor | Vendor states ProRes, MP4 and more | Higher resolutions and 60fps, no numeric ceiling | Tech specs listed macOS Tahoe 26 and Sequoia 15 |
| Apple built-ins | Not documented for screen recordings | Local; save location chosen in Options | MOV; HDR or SDR capture on supported Macs with macOS 26 or later | Not published | Included with macOS |
System audio vs microphone audio on a Mac
System audio and microphone audio are two separate capture paths on macOS. Microphone audio is your narration. System audio, sometimes called internal audio, is whatever the Mac plays: a browser tab, a video, an app’s alert sounds. A tutorial that demonstrates an app with sound needs both in the same file.
macOS also gates each path behind its own permission. Apple documents a Screen & System Audio Recording pane plus separate Microphone and Camera panes under System Settings > Privacy & Security, and says you can let an app record “both your screen and audio, or just your audio” (Apple Support, checked 6 October 2026). One grant doesn’t imply the others.
The seven Mac screen recorders with audio
Each entry covers audio setup, strengths, limits, price and when to choose it.
1. CursorClip
CursorClip is a native macOS recorder built around click-triggered automatic zoom, for tutorials and demos that must stay readable at small playback sizes.
- Audio setup: System audio and microphone are independent toggles, captured through ScreenCaptureKit rather than a bundled driver. On macOS 15 and later the mic is a second track in the same file; on 13.5 and 14 it is a sidecar merged at export.
- Strengths: Mic, system audio and camera in one take, with separate microphone and system volume in the editor. Zooms come from where you clicked, the frame follows the cursor inside each zoom, and you can retime or remove any zoom. Version 2.0 added layouts, motion blur, keyboard-shortcut overlays (keystroke capture is opt-in) and click ripples. Recordings never leave your Mac.
- Limits: It edits only its own recordings. No transcription, captions, noise removal or multi-track timeline, and no per-app audio picker. GIF export is limited to recordings under 10 minutes. With both audio sources on at a large capture, it records at 30fps.
- Price: $70 once, $29 a year or $9 a month, each with a 14-day money-back guarantee, covering up to 3 Macs. Free to record and edit; a license unlocks export. See plans and pricing. Requires macOS 13.5 or later.
- Choose it when: you make Mac tutorials or demos and want narration over app sound with automatic zoom. See the features page and the auto-zoom explainer.
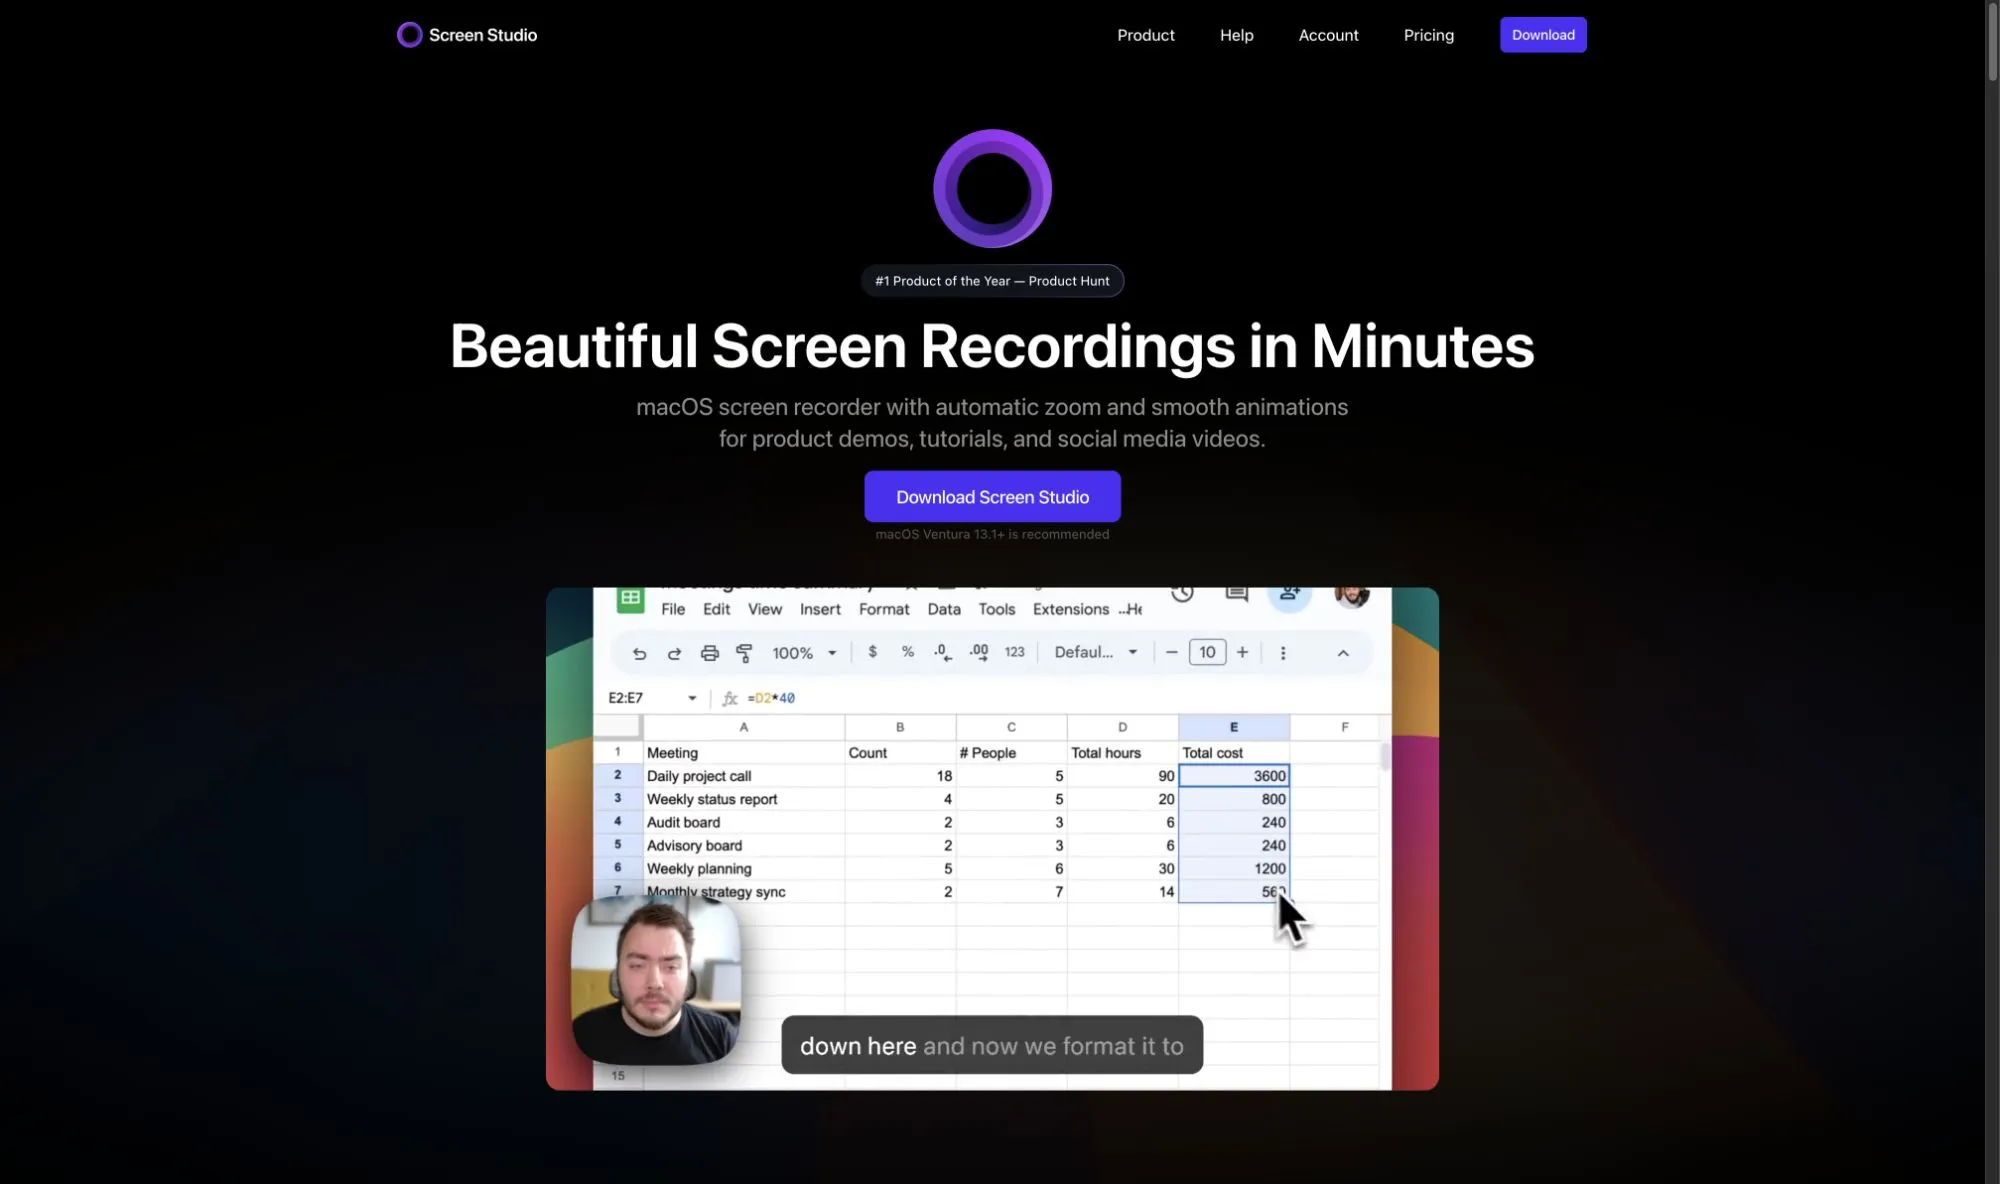
2. Screen Studio
Screen Studio is a macOS recorder for polished product videos.
- Audio setup: The homepage says “Bring your webcam, microphone, and your Mac’s sound along”, and that it cleans up the mic recording afterward on your Mac (checked 6 October 2026). Its screen recorder with audio page describes recording system audio from all apps or only the apps you pick (checked 6 October 2026). Driver requirements aren’t stated.
- Strengths: Automatic zoom, camera layouts (fullscreen camera, split screen, camera overlay) and face tracking (checked 6 October 2026). Captions generated on your Mac, share links, and importing a video recorded elsewhere (checked 6 October 2026).
- Limits: macOS only, with Ventura 13.1 or later recommended. It is an Electron app: its 4.0.1 Mac update archive contains Electron Framework and app.asar (checked 2 October 2026). Subscription only.
- Price (checked 6 October 2026): $29 a month billed monthly, or $9 a month billed yearly, with a 40% discount for students and educators. Our Screen Studio pricing breakdown covers the model change.
- Choose it when: you want captions, share links or editing for video recorded elsewhere, and a subscription is fine.
3. Cap
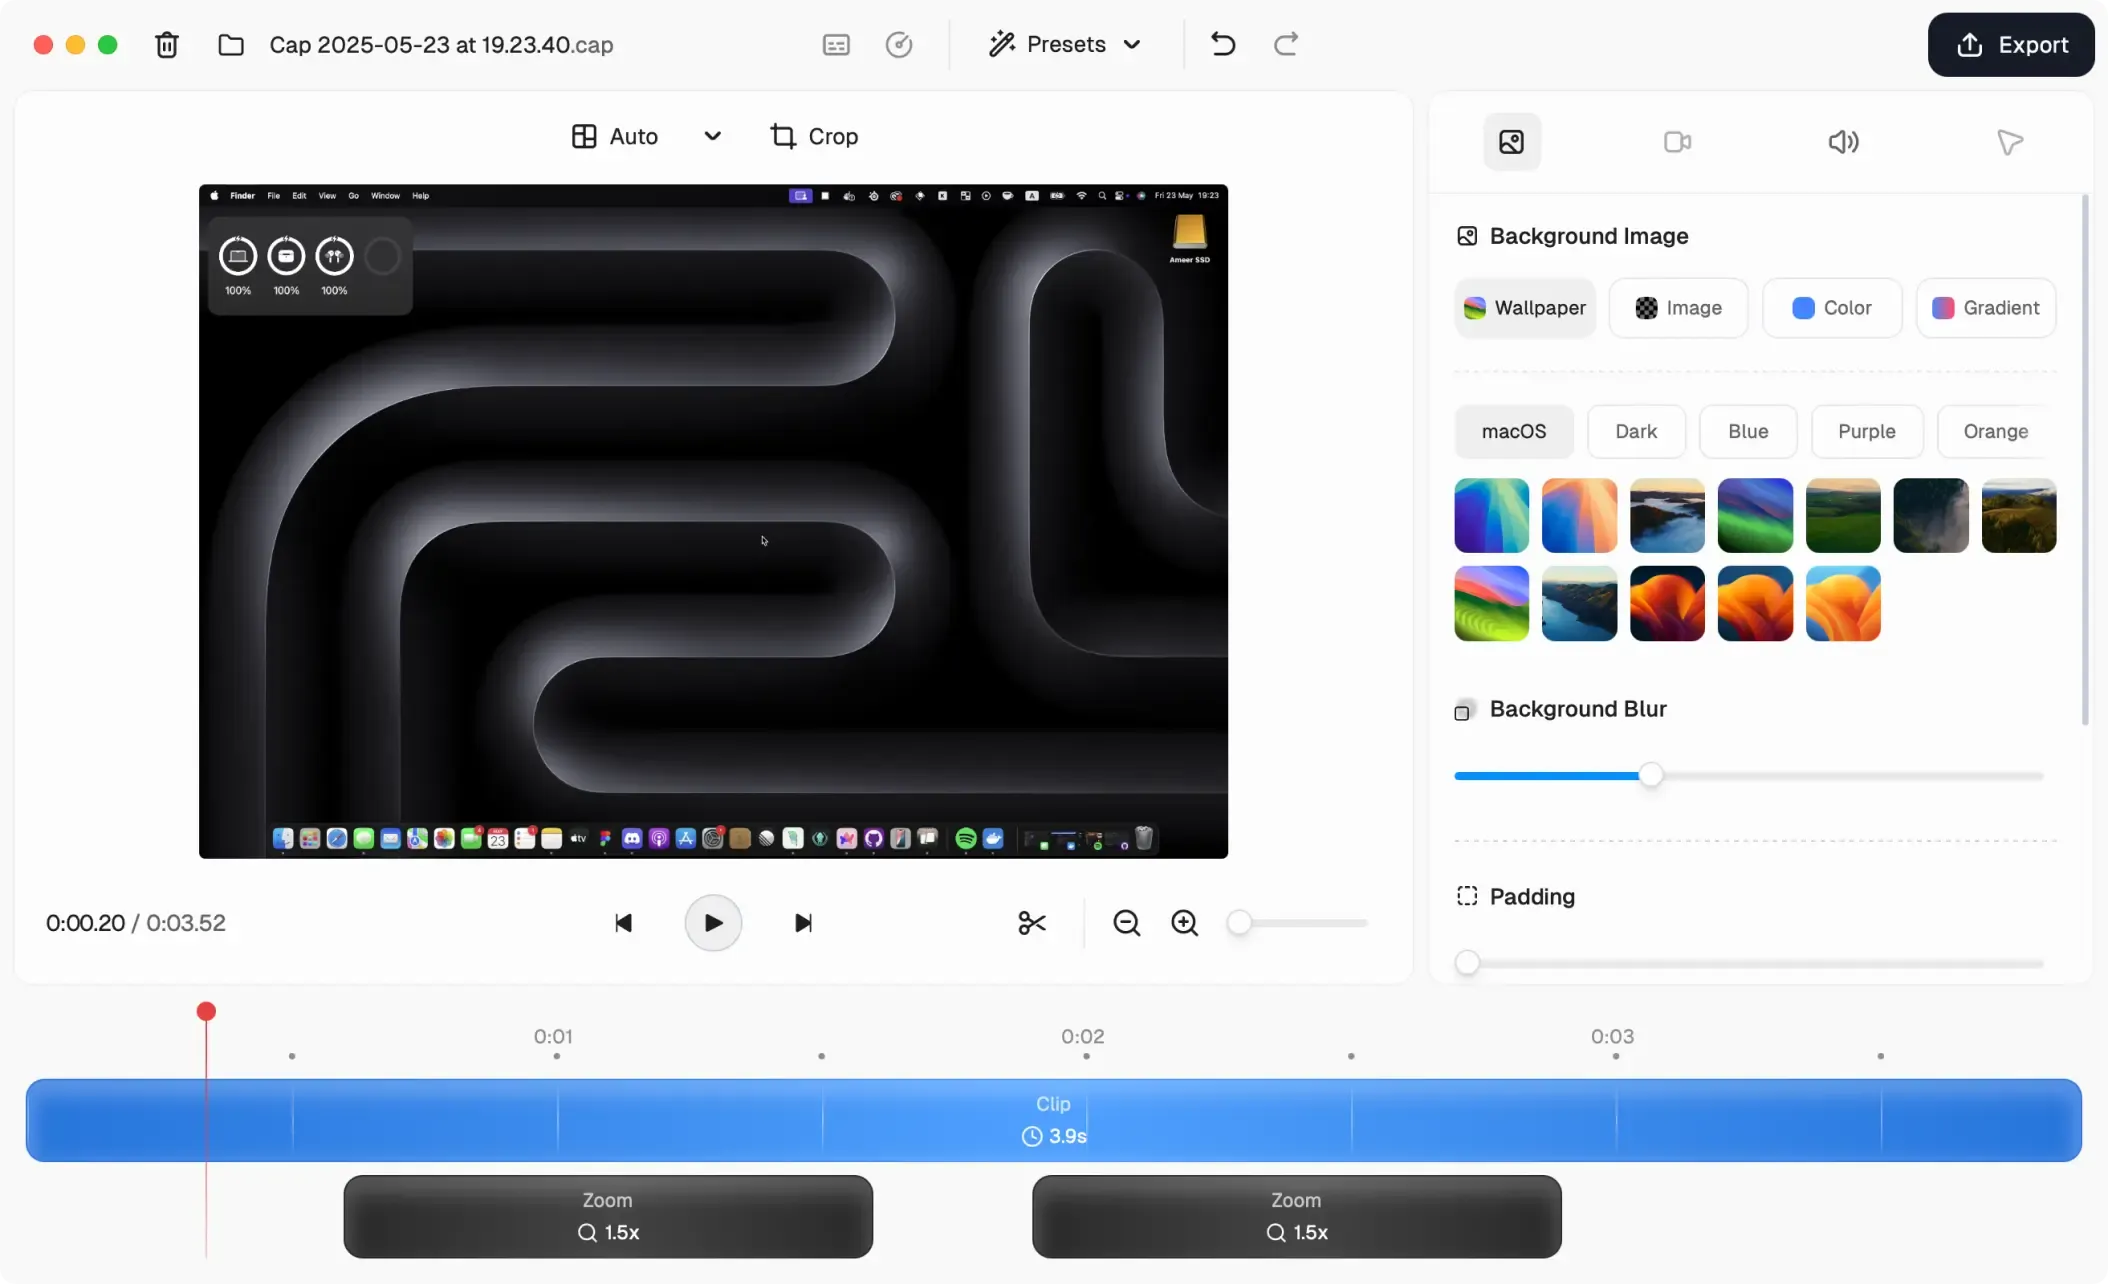
Cap is the open-source, cross-platform option, with macOS, Windows and Linux builds.
- Audio setup: Cap states it “records your microphone and system audio at the same time in a single recording”, with “no BlackHole, no Loopback, no virtual audio drivers required” (checked 6 October 2026).
- Strengths: Instant Mode uploads as you record; Studio Mode records locally with separate screen and webcam tracks. Open source, with self-hosting.
- Limits: The free tier is for personal use only, and free share links are capped at 5 minutes each. Commercial use needs a paid license. The export format list was unstated beyond “any format” on 10 August 2026.
- Price (checked 6 October 2026): Free for personal use, with no time limit on local recordings. Desktop License $58 once or $29 a year. Cap Pro $12 per user per month, or $8.16 a month billed annually. Cap recommends macOS 13.1 or later.
- Choose it when: you need Windows or Linux alongside Mac, you want the source code, or you want to self-host.
4. OBS Studio
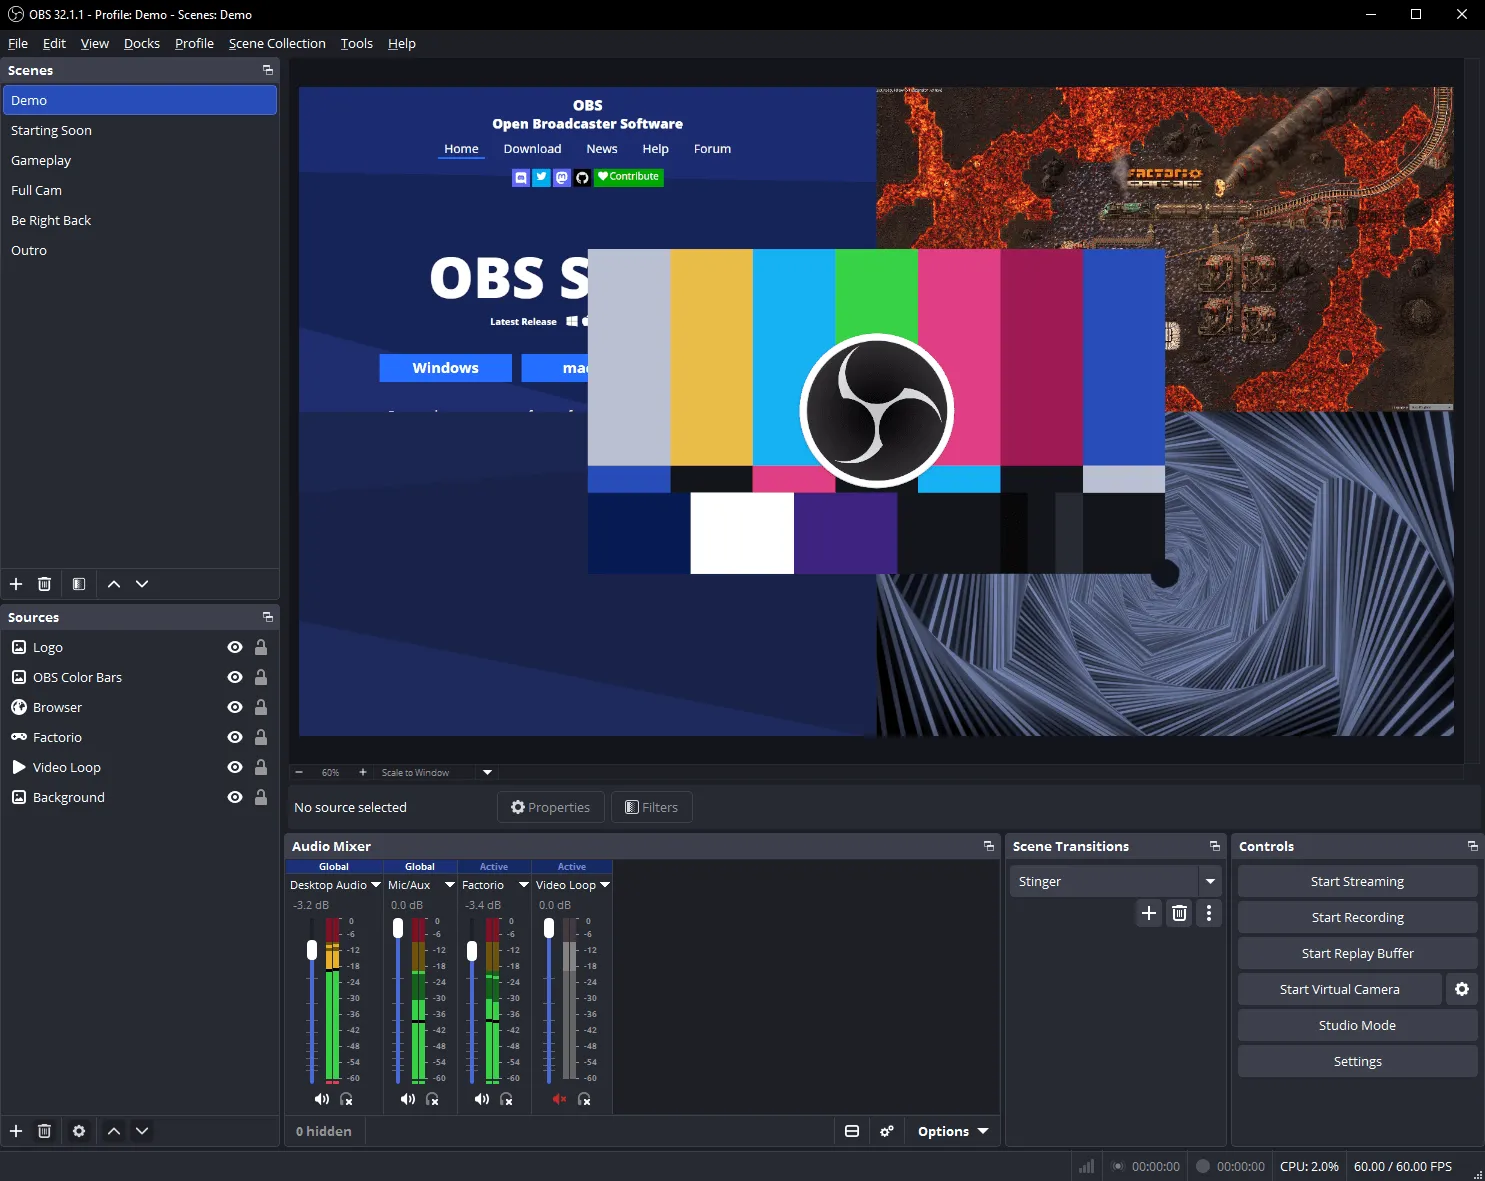
OBS Studio is free, open-source capture and streaming software. Many older Mac guides pair it with a virtual audio device, which current versions no longer need on macOS 13 and later.
- Audio setup: On macOS 13 and higher with OBS 30 and later, the macOS Audio Capture source records desktop audio natively, either all of it or a single app. For older macOS, OBS recommends VB-CABLE, Loopback or Sound Siphon (checked 6 October 2026).
- Strengths: Free with no recording limits. An audio mixer with per-source filters, plus scenes, multiple sources and live streaming (vendor pages, 10 August 2026).
- Limits: No post-production editor. Current OBS needs macOS 13.0 or newer (checked 6 October 2026).
- Price: Free and open source.
- Choose it when: your budget is zero, you need scenes or several sources, or you stream.
5. CleanShot X
CleanShot X is a macOS capture utility where screenshots matter as much as recording. Version 5.0 (1 September 2026) added Studio Mode, a video editor with automatic zooms.
- Audio setup: The homepage says “Voice and system audio” and “Capture what you say and what you hear, perfectly synced with your screen” (checked 6 October 2026). Its 4.6 changelog (5 September 2023) says computer audio no longer requires additional drivers.
- Strengths: Screenshots, annotation, a webcam bubble and short clips in one utility. Studio Mode adds smart zooms that follow your cursor, cursor smoothing, motion blur and backgrounds (checked 3 October 2026).
- Limits: macOS only. No captions or multi-track timeline are claimed.
- Price (checked 6 October 2026): CleanShot Basic $35 one-time with one year of updates, then optional updates at $19 a year. CleanShot Pro $10 per user per month billed annually. 30-day money-back guarantee. Requires macOS 13.0 or newer.
- Choose it when: most of your output is screenshots and short clips.
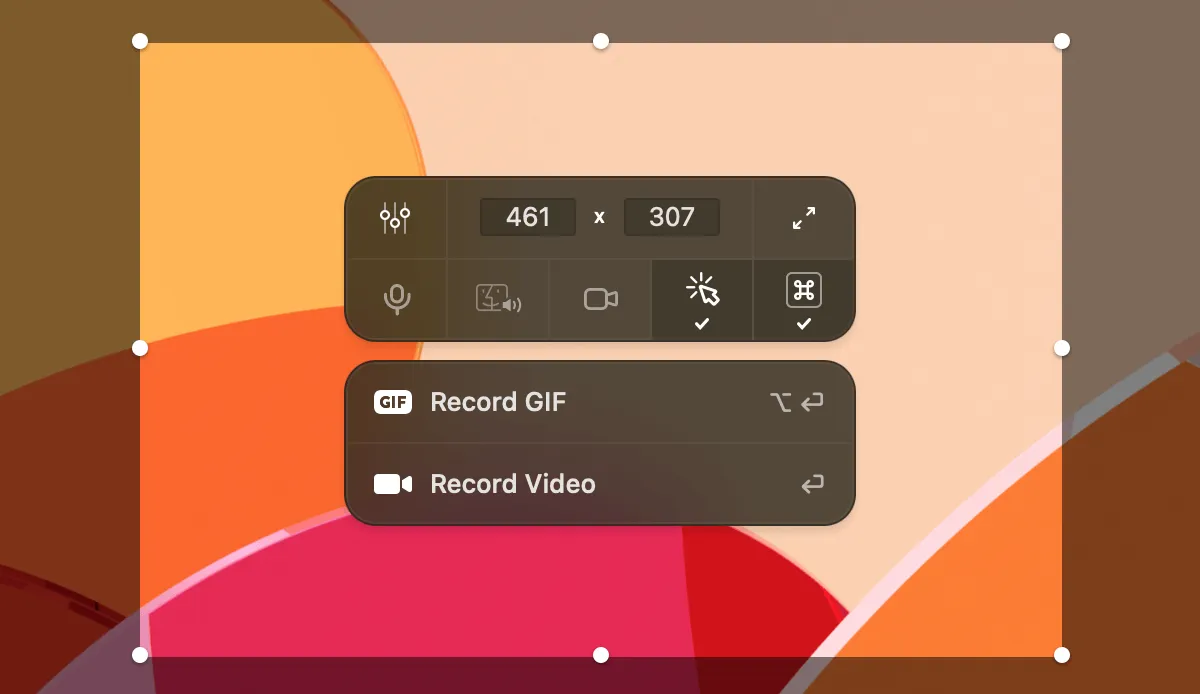
6. ScreenFlow
ScreenFlow is Telestream’s Mac recorder and multi-track editor.
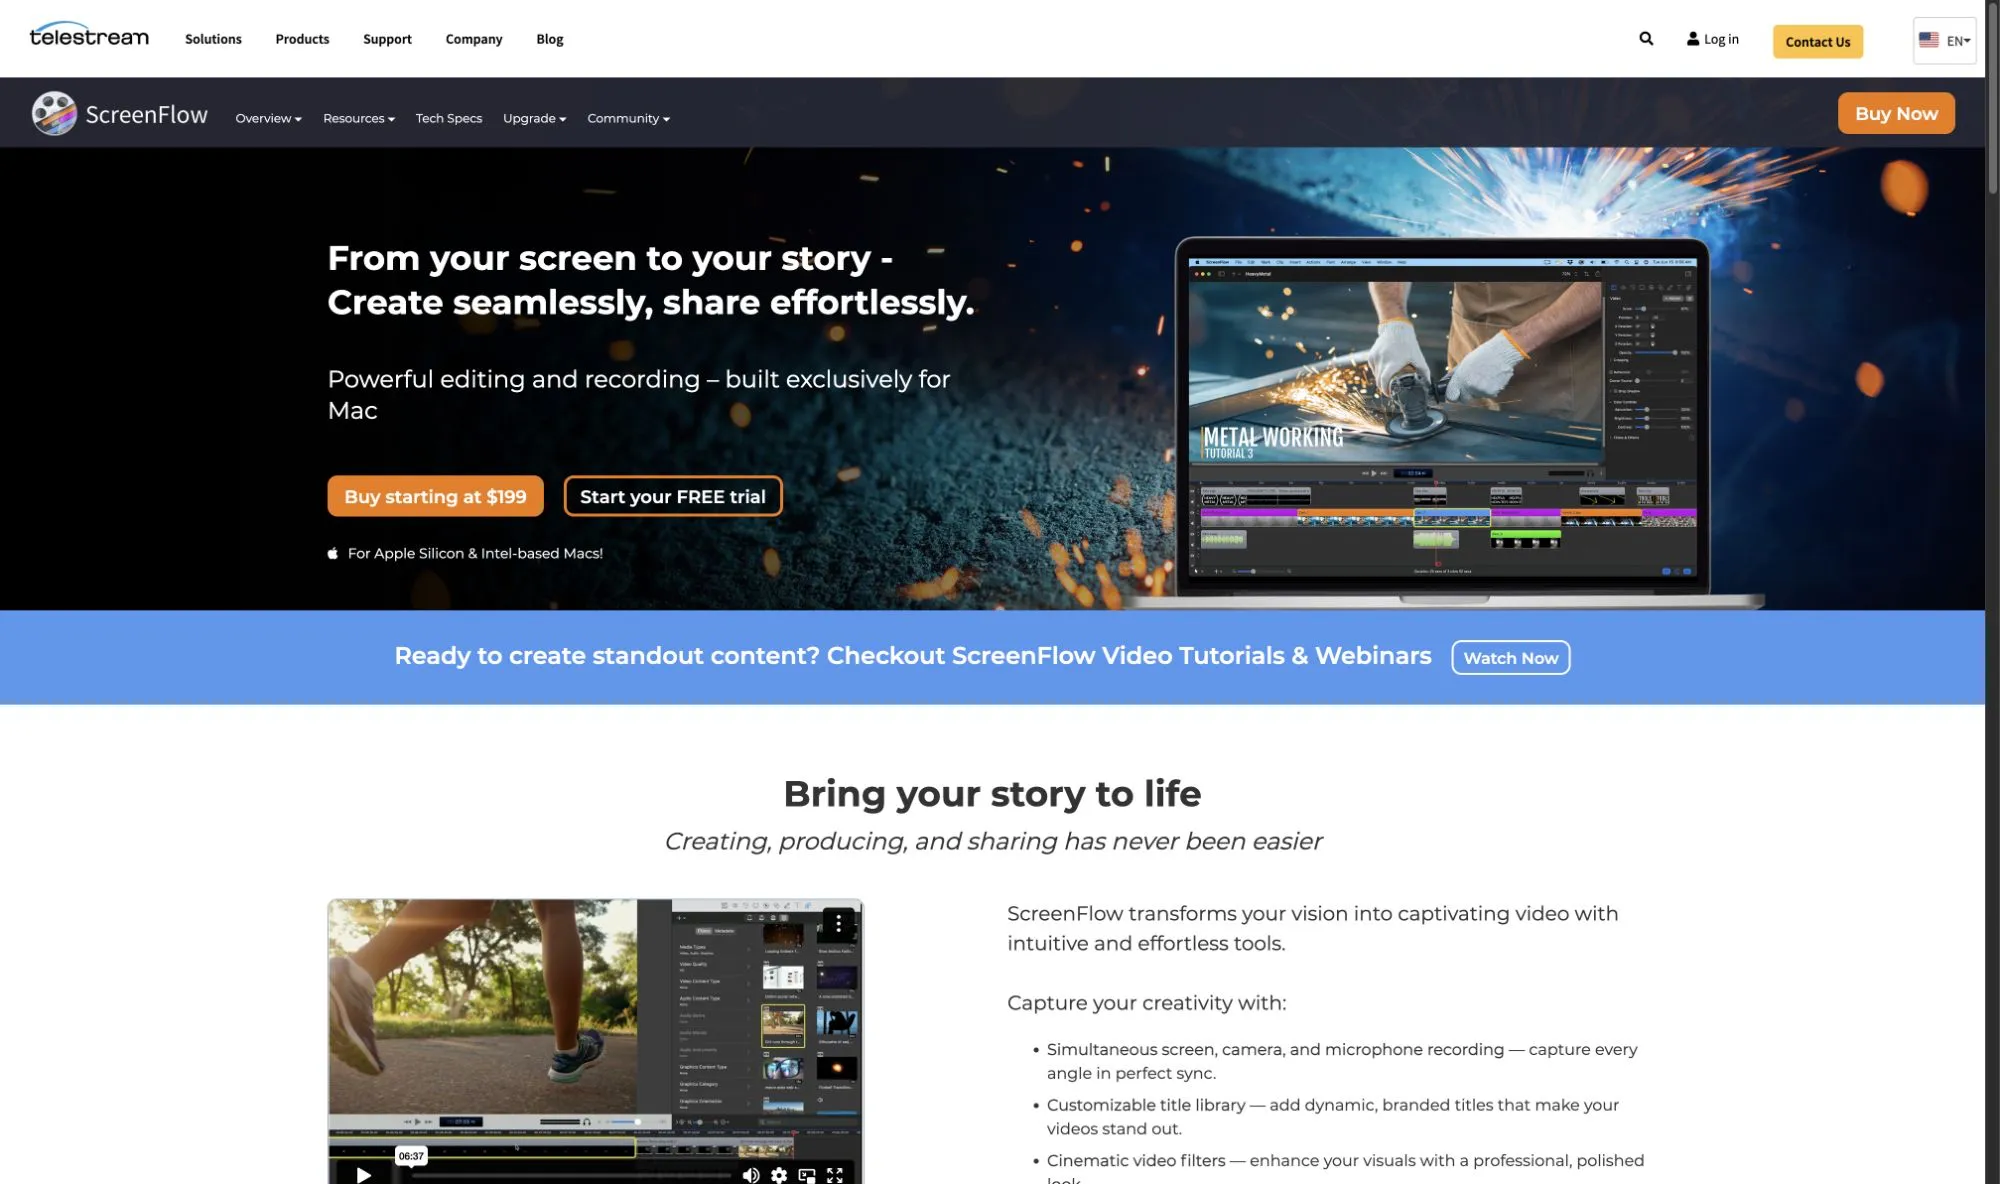
- Audio setup: The product page states “Simultaneous screen, camera, and microphone recording” (checked 6 October 2026). A Telestream help page dated February 2012 says computer audio needs the Telestream Audio driver, a virtual audio device. It names no macOS or ScreenFlow version, so confirm it against the current installer.
- Strengths: A full editor with transitions, text and multi-channel audio, closed caption support, ProRes and MP4 export, and iPhone or iPad capture (vendor pages, 10 August 2026).
- Limits: The highest up-front price here, and possibly an extra audio driver.
- Price (checked 6 October 2026): From $199 one-time.
- Choose it when: you need a multi-track timeline, closed captions or ProRes delivery.
7. Apple Screenshot toolbar and QuickTime Player
Apple’s built-in tools are the free baseline on every Mac.
- Audio setup: Choose a microphone in Options. On macOS 27 or later, also choose Include System Audio (Apple Support 102618, checked 6 October 2026). On macOS 26 and earlier there is no system-audio option, and QuickTime’s own older recording window offers a microphone only.
- Strengths: Free, nothing to install, entirely local.
- Limits: No automatic zoom, captions or timeline, and no documented webcam overlay for screen recordings. Apple’s article doesn’t say how the mic and system audio are combined.
- Price: Included with macOS.
- Choose it when: you need a quick clip today, on macOS 27 for app sound, or narration only on older versions.
Three-year cost of each option
List prices for one seat, before tax, with no price changes assumed. Competitor prices checked 6 October 2026. Subscription totals are the stated rate multiplied out.
| Option | Year 1 | 3-year total | Versus CursorClip $70 lifetime |
|---|---|---|---|
| CursorClip lifetime | $70 | $70 | Baseline |
| CursorClip annual | $29 | $87 | $17 more |
| Screen Studio, yearly billing | $108 (from $9/mo) | $324 | $254 more, so the lifetime license is 78% cheaper |
| Screen Studio, monthly billing | $348 | $1,044 | $974 more, so the lifetime license is 93% cheaper |
| Cap Desktop License, one-time | $58 | $58 | $12 less |
| Cap Desktop License, yearly | $29 | $87 | $17 more |
| Cap Pro, monthly billing | $144 | $432 | $362 more |
| CleanShot X, updates renewed | $35 | $73 | $3 more |
| ScreenFlow | $199 | $199 | $129 more |
| OBS Studio | $0 | $0 | $70 less |
The Screen Studio rows are arithmetic on its stated $9 and $29 monthly rates. The CleanShot X row assumes the optional $19 a year update renewal in years two and three; without it, the app keeps working and stops getting updates.
No sound? Fix it
Most silent screen recordings come down to one of these.
1. The recorder lacks permission
Choose Apple menu > System Settings > Privacy & Security > Screen & System Audio Recording, and turn recording on for your recorder. Apple lets you allow an app to record screen and audio, or audio only, so check that audio is allowed. Microphone access is a separate pane under Privacy & Security. After changing either, quit and reopen the recorder.
2. The wrong input is selected
In the Screenshot toolbar, check Options > Microphone; None records no voice at all. In CursorClip, check the microphone picker in the control bar. If you plugged in a mic after opening the recorder, pick it again.
3. The source was muted, or system audio was off
A muted app or browser tab gives the recorder nothing to capture. Check that system audio is turned on in your recorder. On the built-in toolbar, Include System Audio appears only on macOS 27 or later. If you don’t see it, check your version under Apple menu > About This Mac.
4. A Bluetooth headset is the microphone
Using AirPods or another Bluetooth headset as the mic can switch the headset into a call mode, which changes how both your voice and your Mac’s audio sound. For a recording you’ll publish, listen on the headset but record with the Mac’s built-in mic or a USB mic.
5. Echo, or your voice is buried
Speakers playing into an open mic cause echo, so wear headphones. Keep the mic close, record in a quiet room, and do a ten-second test with app sound playing before the real take.
Recording a meeting?
Start with the meeting app’s own recorder when your role allows it, and ask everyone for consent first. Our Zoom, Meet and Teams recording guide covers who can record on each platform, and what to do when you can’t.
Frequently asked questions
How do I screen record on a Mac with audio?
On macOS 27 or later, the Screenshot toolbar (Shift-Command-5) can record system audio: open Options and choose Include System Audio. On macOS 26 and earlier, QuickTime and the toolbar record your microphone but not system sound. CursorClip records system audio, your mic and your camera in one take on macOS 13.5 or later.
How do I record internal audio on a Mac?
On macOS 27 or later, press Shift-Command-5, click Options and choose Include System Audio (Apple Support article 102618, published 14 September 2026, checked 6 October 2026). On macOS 26 and earlier, use a recorder that captures system audio without a driver: CursorClip on macOS 13.5 or later, OBS Studio 30 or later on macOS 13 or later, Cap or CleanShot X. A virtual audio device such as BlackHole is a legacy fallback for macOS 12 or earlier.
Can QuickTime record system audio?
Not by itself. Apple says that if QuickTime’s File > New Screen Recording shows the Screenshot toolbar, the Screenshot app is doing the recording, and on macOS 27 or later that toolbar’s Options include Include System Audio (Apple Support article 102618, checked 6 October 2026). QuickTime’s own Screen Recording window offers a microphone only, so on macOS 26 and earlier you need a third-party recorder for system audio.
Why does my Mac screen recording have no sound?
Usually one of four things. The recorder lacks the Screen & System Audio Recording permission in System Settings > Privacy & Security. The wrong microphone, or None, is selected. The app or browser tab you recorded was muted. Or system audio was never turned on, and on Apple’s toolbar that option exists only on macOS 27 or later. With a Bluetooth headset, record with the Mac’s own mic or a USB mic instead.
Can a Mac record system audio and microphone together?
Yes. On macOS 27 or later, Apple’s Screenshot toolbar offers a microphone and Include System Audio; Apple’s article does not say how the two are combined in the file. Cap states it records your microphone and system audio at the same time in a single recording, CleanShot X says it captures ‘what you say and what you hear’ (both checked 6 October 2026), and CursorClip records both in one take with separate volume controls in its editor.
Do I need BlackHole to record internal audio on a Mac?
Usually not. macOS 27’s Screenshot toolbar records system audio itself, and OBS Studio’s knowledge base says OBS 30 and later capture desktop audio natively on macOS 13 and higher (checked 6 October 2026). CursorClip, Cap and CleanShot X 4.6 and later need no driver either. A virtual audio device such as BlackHole is a fallback for macOS 12 or earlier, or for a tool that still routes audio through a driver.
Can these tools record a single app’s audio?
OBS Studio documents it: its macOS Audio Capture source can capture all desktop audio or just one application (checked 6 October 2026). Screen Studio documents it too: its screen-recorder-with-audio page says you can pick the apps to record audio from, and sound from other apps is ignored (checked 6 October 2026). CursorClip captures everything the Mac plays and has no per-app audio picker. Apple’s article does not mention per-app audio.
Which Mac screen recorder with audio is free?
Apple’s Screenshot toolbar is free and records system audio on macOS 27 or later. OBS Studio is free and open source. Cap is free for personal use, with no time limit on local recordings, and commercial use needs a paid license (checked 6 October 2026). CursorClip is free to record and edit, and a license unlocks export.
Related reading
- The whole recording workflow: the complete 2026 guide to screen recording on a Mac covers capture areas, QuickTime, saving and troubleshooting.
- The wider tool list: the 13 best screen recorders for Mac, judged on more than audio.
- Meetings: record Zoom, Meet or Teams with system audio, with the consent rules for each platform.
- If the recording is a tutorial: how to make tutorial videos on Mac covers planning through export.
- If the file is too large: the free Mac video compressor runs offline.